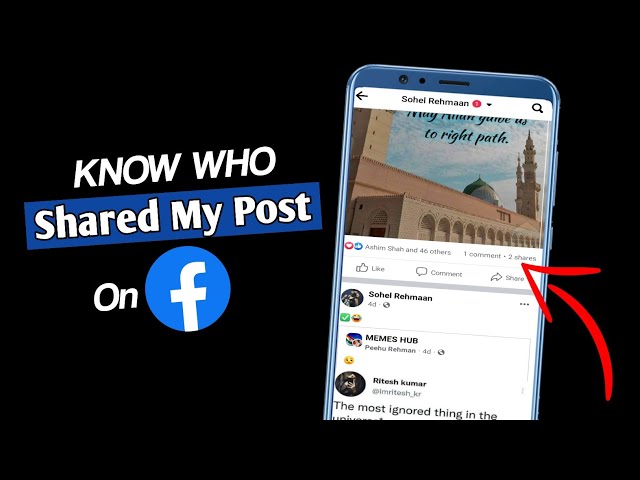
Posting on Facebook exposes your content to friends or a broader audience, depending on your privacy settings. If others share your posts, their networks can also see them. Facebook will notify you when someone shares your content, and you can easily check how many shares it has received. To find out who has shared your posts, either check your notifications for recent shares or revisit the original post for a detailed list of sharers. This guide offers two simple methods for accessing your share stats on Facebook, including the number of shares and the identities of the sharers.
If you’re curious about the details behind who is sharing your posts and their interactions on their profiles, here are the steps to uncover this information. We’ll also show you how to tweak your privacy settings to manage who can share your posts.
How to See Who Shared Your Facebook Post
If the shares don’t appear in your notifications, you’ll need to access the post directly. Here’s how:
Check Your Notifications
For recent activity, the easiest way to discover if your post has been shared is to check your notifications. Click the bell icon in the upper right corner of Facebook or navigate to the Notifications page. Look for alerts related to your post to see who has shared it and when.
Find the Original Post
- Go to your timeline and locate the post in question.
- At the bottom of the post, notice the like, reaction counts, and above the share button, the number of shares.
- Hover over the share count to display the names of people who shared the post.
- Click on the number to view details of each share, including comments and reactions.
- Explore further by clicking on the names to visit the profiles of those who shared your post, where you can see additional interactions and comments.
Check Your Profile
- Visit your profile and find the post you’re interested in.
- If it’s an older post, use the Facebook search function to locate it by typing relevant keywords and filtering the results to show “”Posts From You.””
- Between the post’s content and the comment section, and above the Like, Comment, and Share buttons, you’ll see the share count.
- Click on the share count to reveal who shared the post and read any comments they added.
How to Change Facebook Post Settings
If you prefer to restrict who can share your posts, adjusting your Facebook settings is straightforward. Here’s what to do:
- Click your profile picture in the top-right corner of Facebook.
- Select Settings & Privacy, then Settings.
- Navigate to Privacy settings.
- Modify “”Who can see your future posts?”” to control who can view and share them.
- Set your preferred audience for your posts, and consider limiting past posts to Friends only.
These changes will default to new posts, but you can customize the audience for each post:
- Locate the post you wish to restrict.
- Click the three dots in the top-right corner and choose Edit Audience.
- Select who can view and share the post, ranging from just friends to specific people or only yourself.
How to See Who Shared Someone Else’s Post
To view who shared another user’s post, click the share link on the right side of the post. Note that depending on their privacy settings, you might not be able to see all individuals who shared it.
Related FAQs
If someone blocked me, will they see my post if their friend shared it?
If you’ve been blocked, that person will not be able to see your posts, even if shared by a friend. They could only view it through a screenshot shared by a mutual friend.
How do I remove posts shared from my Facebook page?
While you cannot delete shares made by others directly, you can remove the original post. Click the three dots in the upper-right corner of your post and select delete. This will cause any shares to appear blank .
Sharing Insights
Whether your post is shared a few times or goes viral, understanding who shares your content is crucial. Facebook simplifies this process, allowing you to track sharers, their comments, and reactions. Mastering how to view who shared your post on Facebook is key to managing your digital presence and engaging with your audience effectively.


