Pie charts, also known as circle charts, are invaluable tools for depicting part-to-whole relationships within your datasets. Wondering how to craft one effortlessly using Google Sheets? Let’s delve into the process!
When Should You Use a Pie Chart?
If you possess a dataset with fewer than 6 categories, each representing a percentage of the whole, employing a pie chart is often recommended.
Pie charts excel in illustrating proportions within a total sum. However, they aren’t suitable for showcasing data over time, as they capture only a single snapshot.
Preparing Your Dataset
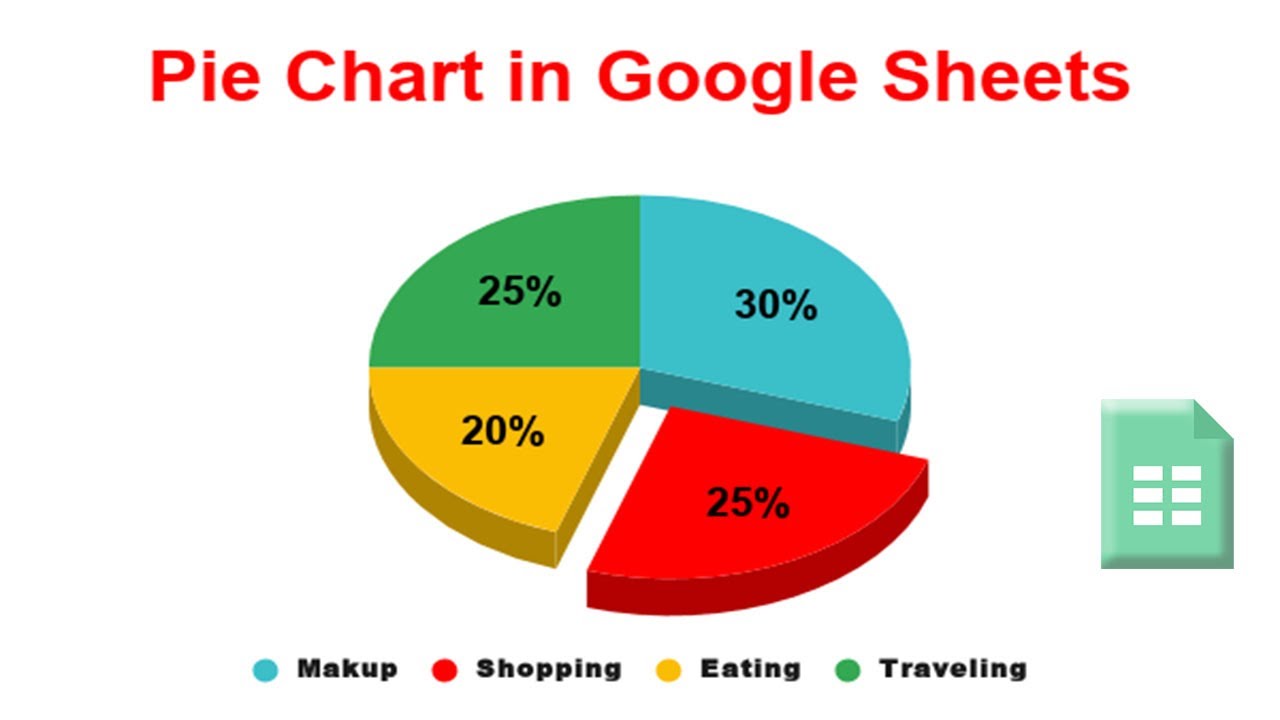
Imagine you manage an e-commerce platform and wish to analyze the reasons behind last month’s refunds. Below lies the dataset we’ll utilize for constructing the pie chart.
| Cause | Percentage |
|---|---|
| Defective Product | 25% |
| Late Delivery | 20% |
| Customer Dissatisfaction | 15% |
| Wrong Product Shipped | 30% |
| Others | 10% |
Creating Your Pie Chart
There are two convenient methods to generate a pie chart based on your dataset:
- Click on “Insert” in the top menu and choose “Chart” from the dropdown.
- Alternatively, click on the “Explore” button at the bottom right (or press Alt+Shift+X), allowing Google to suggest relevant charts. Drag and drop the pie chart option onto your sheet.
Editing Your Pie Chart
Double-click the chart to access the chart editor, enabling you to tweak various aspects:
- Adjust chart type if necessary.
- Modify data range, labels, and values.
- Customize appearance, including colors, fonts, and slice distances.
Additionally, directly interact with the chart to rename elements. Click the three dots at the top right for more editing options.
Displaying Values and Percentages
To incorporate values into your chart:
- Double-click the chart and navigate to “Customize” and “Pie Chart” in the chart editor.
- Select “Slice Label” and choose “Value” to display actual values.
- Alternatively, opt for “Percentage” or both “Value and Percentage” for a comprehensive view.
Creating a Donut Pie Chart
To fashion a donut pie chart:
- Access the chart editor by double-clicking the chart.
- Click “Customize” and then “Pie Chart”.
- Adjust the percentages using the Donut hole dropdown as per your requirements.
Enhance Data Visualization with Pie Charts
Pie charts in Google Sheets offer a straightforward means to visually represent part-to-whole relationships within your data. Whether analyzing sales figures or survey responses, mastering this tool empowers you to convey insights effectively.
FAQs
1. Can I create a pie chart in Google Sheets with more than 6 categories?
While it’s technically possible, pie charts become less effective with too many categories, as clarity diminishes.
2. Is it possible to customize the colors of slices in a Google Sheets pie chart?
Absolutely! Google Sheets allows you to tailor colors to match your preferences or brand aesthetics.
3. Can I add additional data labels, such as annotations, to my pie chart?
Currently, Google Sheets supports basic labeling options. For advanced annotations, consider using dedicated visualization software.
4. Are there alternative chart types that might better suit my data?
Indeed, depending on your data’s nature, bar charts, line graphs, or scatter plots might offer clearer insights than pie charts.
Wrap Up Your Visualization Journey
Embark on your journey to visual mastery with Google Sheets pie charts. From deciphering sales trends to dissecting survey responses, these intuitive tools transform raw data into actionable insights, driving informed decision-making.